

Motion Tracking
Motion Tracking turns your devices into an interactive display that responds to your movement in real time. Hover your hand over your keyboard and it lights up beneath you, almost like magic.
This guide walks you through connecting a camera, applying the effect, and tuning it for your setup.
What You’ll Need
Section titled “What You’ll Need”- A camera connected to your computer — a webcam or a capture card both work
- SignalRGB Pro — Motion Tracking is a Pro effect
Setting Up Your Camera
Section titled “Setting Up Your Camera”Before you configure Motion Tracking, give SignalRGB permission to use your camera.
- Click the Windows icon on the taskbar and type
camera privacy settings. - Select Camera privacy settings from the results.
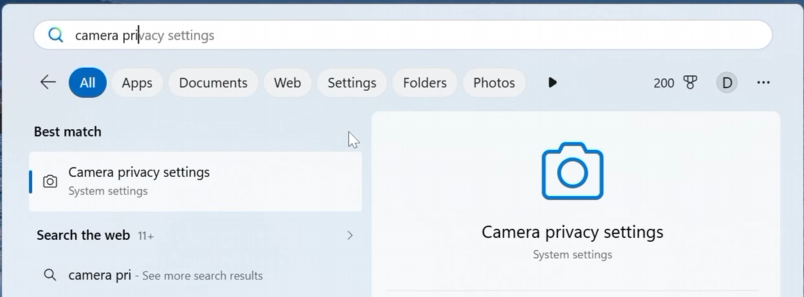
- Find SignalRGB in the list of apps and turn its camera access On.

- Return to SignalRGB. Click the settings button in the bottom left of the screen, then select the Video page.
- Turn on Use Camera.
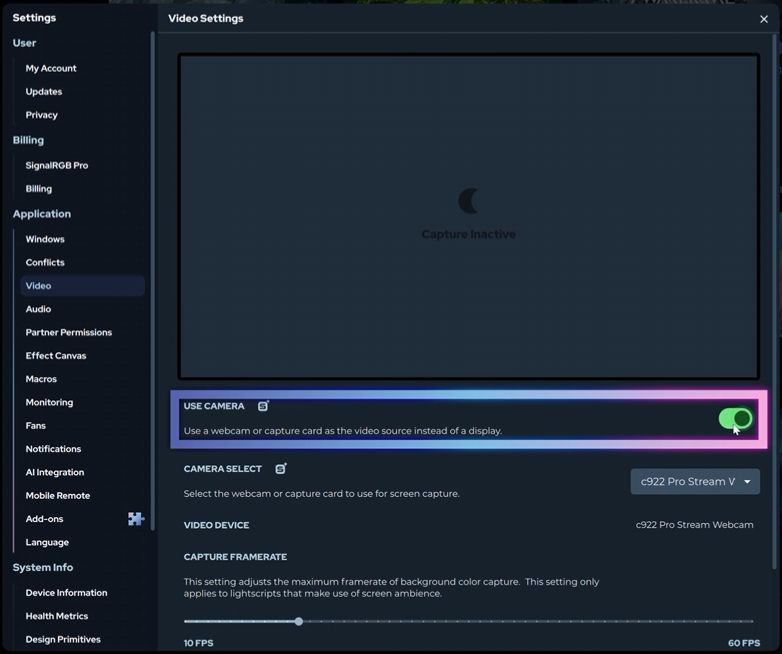
Your camera feed now replaces the screen capture input for any effect that uses capture. If the preview reads Capture Inactive, the currently active effect simply isn’t using capture yet.
Applying the Motion Tracking Effect
Section titled “Applying the Motion Tracking Effect”- Close the settings menu and go to the Discover page.
- Type
Motion Trackingin the search bar. - Select the Motion Tracking effect and apply it.
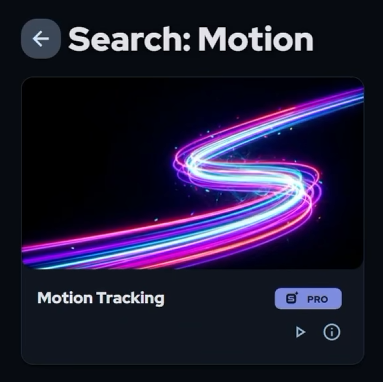
- Go to the Lighting page to see the effect options.
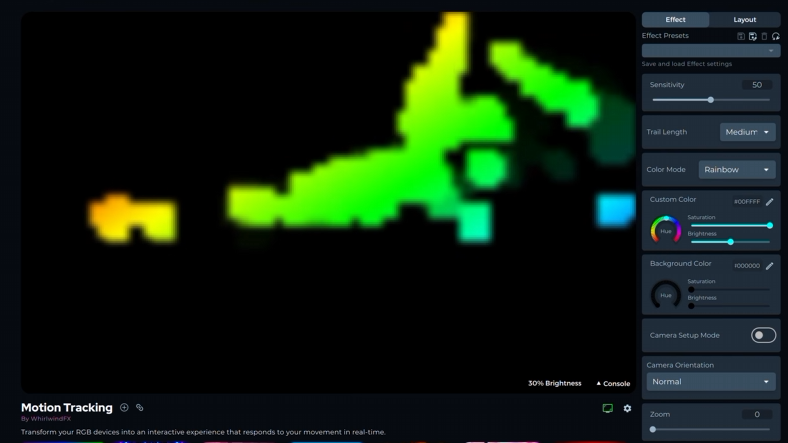
Splashes of color now appear on the Canvas whenever the camera sees movement. SignalRGB analyzes the camera feed and overlays color wherever it detects motion.
Positioning the Boundary Box
Section titled “Positioning the Boundary Box”The boundary box tells SignalRGB which part of the camera frame to watch. Point it at the device you want to react to movement — this example uses a keyboard.
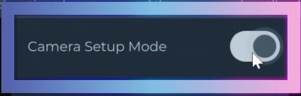
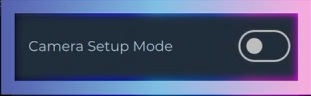
- Turn on Camera Setup Mode. The Canvas switches to a live camera feed.
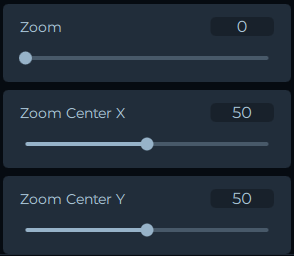
- Drag the Zoom slider to zoom in or out on the frame. SignalRGB only looks for movement inside the rectangle.
- Adjust Zoom Center X and Zoom Center Y to move the rectangle left, right, up, and down.
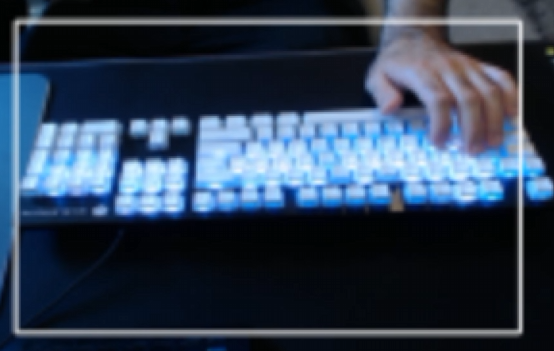
- Adjust Zoom Box Width and Zoom Box Height to resize the capture box.
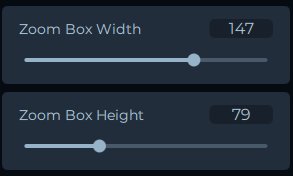
Shape the rectangle so it covers only the device you want. The lighting then triggers just for movement over that device.
Setting Camera Orientation
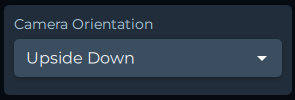
Section titled “Setting Camera Orientation”Camera Orientation aligns the video feed with the real world so your movements land in the right place.
Choose Upside Down if your webcam is mounted on top of your monitor. This is correct for most setups. If your camera sits somewhere else, try the other orientation options until the movement lines up.
Configuring Your Layout
Section titled “Configuring Your Layout”Motion Tracking maps the camera frame onto your Canvas, so your device needs to fill the Canvas for the effect to line up.
- Click the Layout tab in the upper right of the application.
- Select your device from the list.
- Adjust its position and size so it takes up the majority of the Canvas.
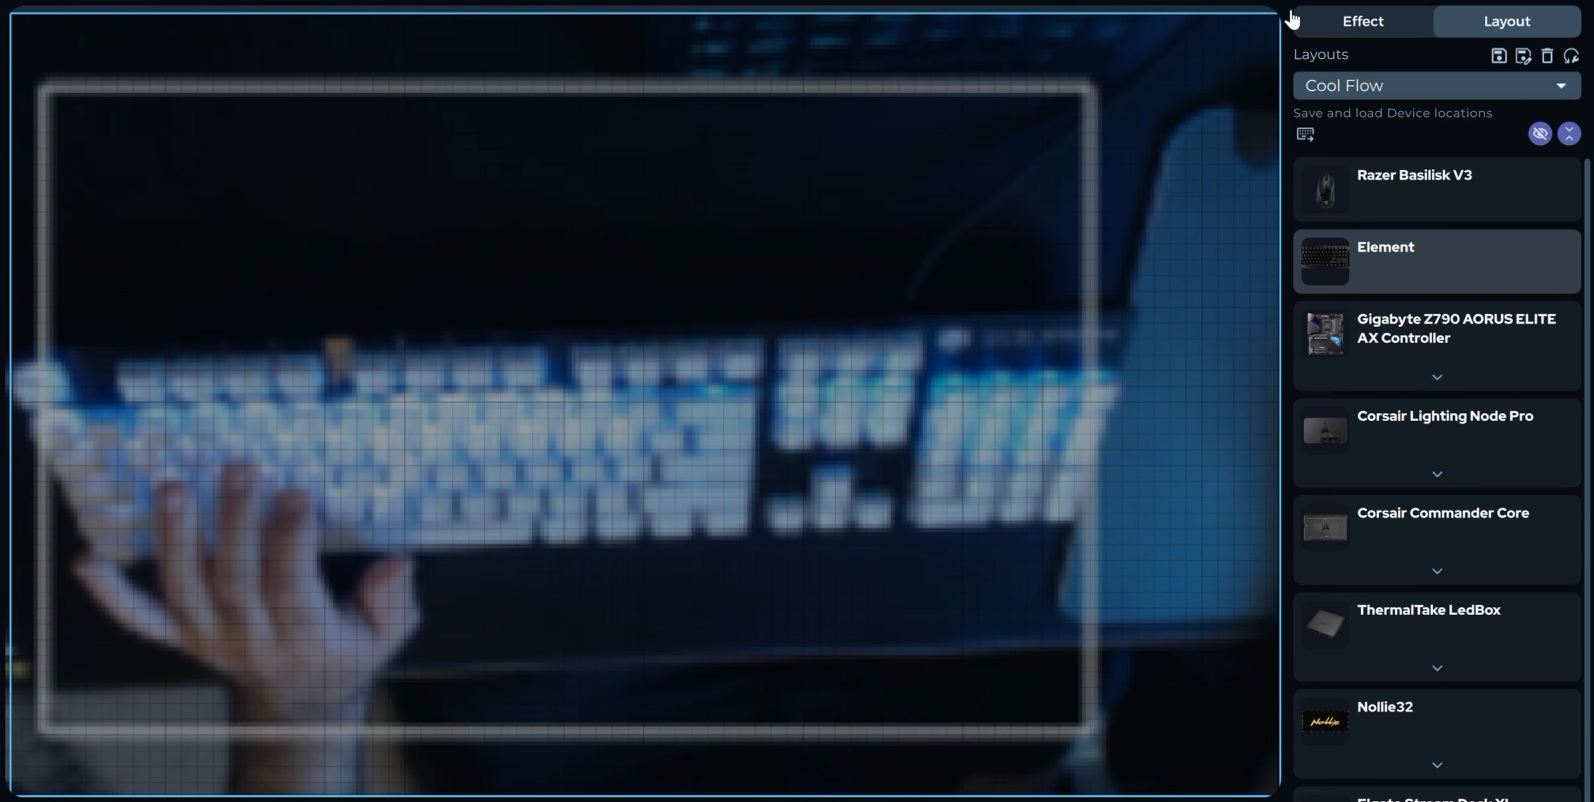
- Click the Effect tab in the upper right to go back, then turn off Camera Setup Mode.
Tuning Sensitivity
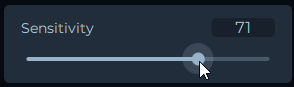
Section titled “Tuning Sensitivity”Move your hand over the device to check your work. Watch for dark spots where the lighting should have reacted but didn’t — that means the sensitivity is too low.
Drag the Sensitivity slider until you strike a balance: enough movement is captured, but the Canvas isn’t flooded with noise.
Customizing the Effect
Section titled “Customizing the Effect”With Motion Tracking working, you can change how it looks.
Color Mode
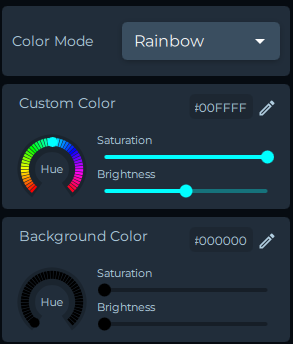
Section titled “Color Mode”Color Mode is set to Rainbow by default. Open the dropdown to choose a different mode:
- Rainbow — cycles through the full color spectrum
- Custom Color — uses a single color you pick
- White — renders movement in white
- Original Color — uses the colors from the camera feed
Trail Length
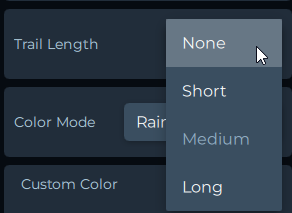
Section titled “Trail Length”Trail Length controls how long the color lingers after your hand passes. Open the dropdown to pick an option:
- None — shows the motion exactly as captured
- Short
- Medium
- Long — produces a soft, ethereal trail
Related Articles
Section titled “Related Articles”Need more help? Contact Customer Support